
Making Country Chairs

“If you can make a good chair, you’ll never go hungry”
I’ve been making country chairs in West County Clare for more than thirty years and running weekend courses in chair-making for over fifteen. Things have changed but when I started, there was still a strong local tradition of chair-making. Country chairs in the true sense, made locally when country people were far more self reliant than today. The Celtic Tiger came and went and we have seen huge social changes since the late 1990s. Mass-produced chairs have become the norm, but there’s always interest in the more traditional. Not exactly full circle but maybe an appreciation of made to last versus throw-away.

The term “country chair” covers a very wide range of chair types and construction types, ranging from the crude or naive (a neighbour told me once, “I often sat on a bucket”) to the more sophisticated that verge on formal. Indeed, country made chairs were often direct copies of expensive mahogany chairs in the grand houses. A local carpenter or joiner might have had occaision to go into the grand house and make a mental note of the formal chairs.
Country Chippendale chairs which were plentiful in my youth were made from offcuts of various woods and usually scaled down from the original – a formal mid-eighteenth century chair is actually quite big.
Regioinal styles evolved in the earliest of times but developed in the eighteenth and nineteenth centuries. The Irish sugan chair is just one example; A rigid frame structure with the seat formed from a variety of cord types. Suited to the materials available and quite easy to make using the simplest tools.
Solid seat boards are well known in Ireland but East Anglia is a region where solid seat boards are the rule. They are usually more sophisticated, most often with a sculpted or saddled seat board. But, in general, whether its Lancashire or Wales or anywhere else, the regional style reflects the availability of materials,
And whatever the region, the country chair tends to be an object that outlives the original owner because it is made as a valued part of the domestic arrangements.
Thinking about making a chair?
I don’t project myself as the reincarnation of a 19th century crafstman and I don’t necessarily try to replicate methods of working just becaue they were routine a hundred or more years ago. Probably, there is no right or wrong way to make a chair as long as the result performs the basic requirement over a reasonable lifetime.
What do I want to achieve when I’m making a chair?
What does the customer want of a chair?
Thinking about the purpose or use,
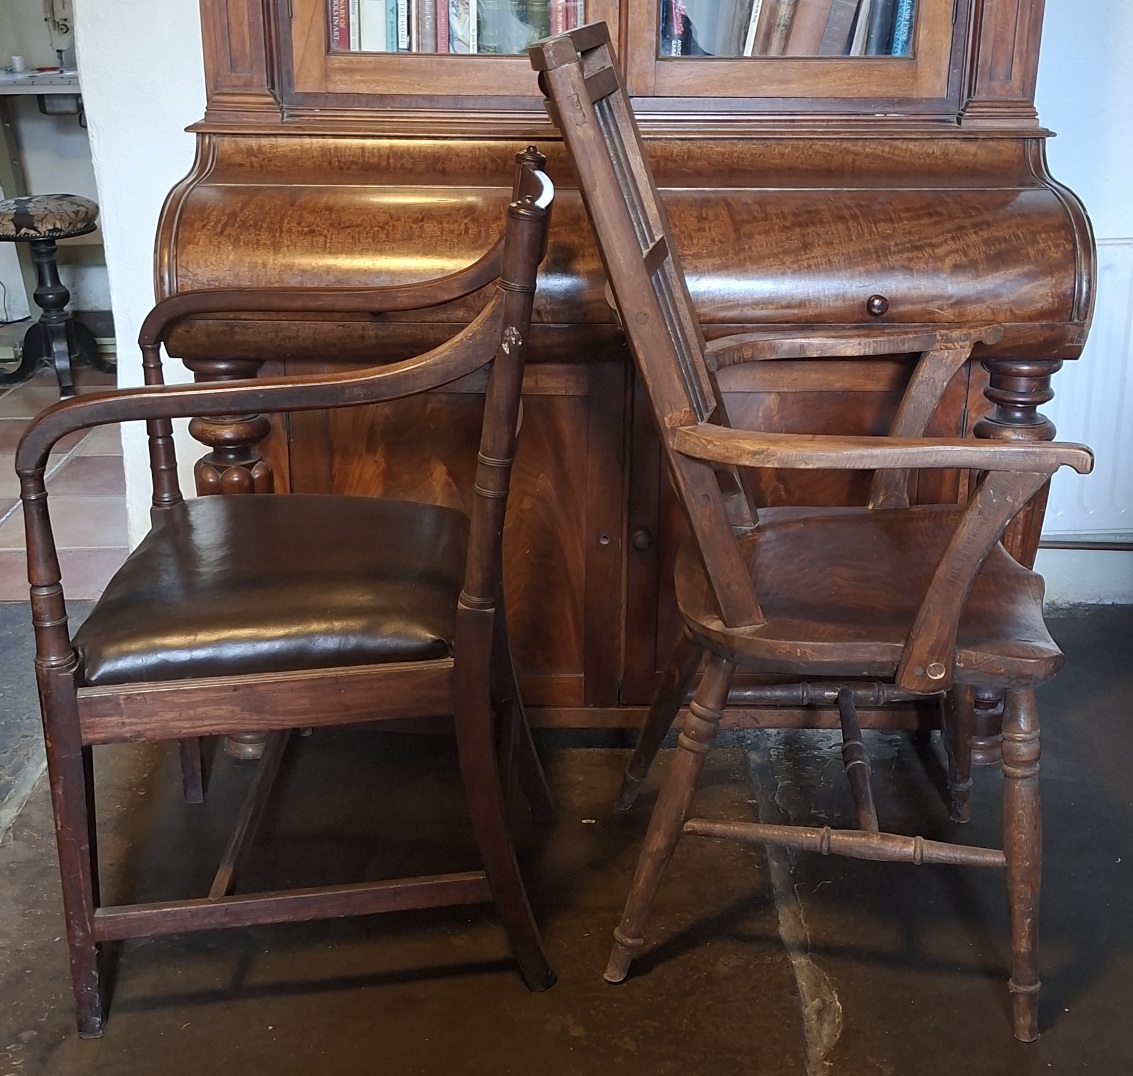
The upright or side chair is usually intended to be placed at a table during meal times whereas the elbow or arm chair suggests relaxation: The idea of a carver as the arm chair version of a dining chair tends to be associated with fine furnituire in formal settings.
Stability is a necessary as is posture and adaptability into the domestic arrangements. Stability of the structure is achieved through appropriate materials, design and construction. I don’t use screws or nails and the joints shouldn’t rely entirely on glue.
Posture / Comfort is a more difficult term because the role of the chair has evolved for different uses; the recline of the back tends to distinguish chairs that are made for relaxation while a more erect posture is better suited to dining.
Good looks – yes, it has to be attractively proportioned. “Good furniture is the meeting of the craftsman’s hand and the artist’s eye”
The best way to learn the basics is from old chairs, repairing them or just looking. If you dismantle an old chair you will see what the original maker had in mind. You will also discover some of the many pitfalls.
Materials
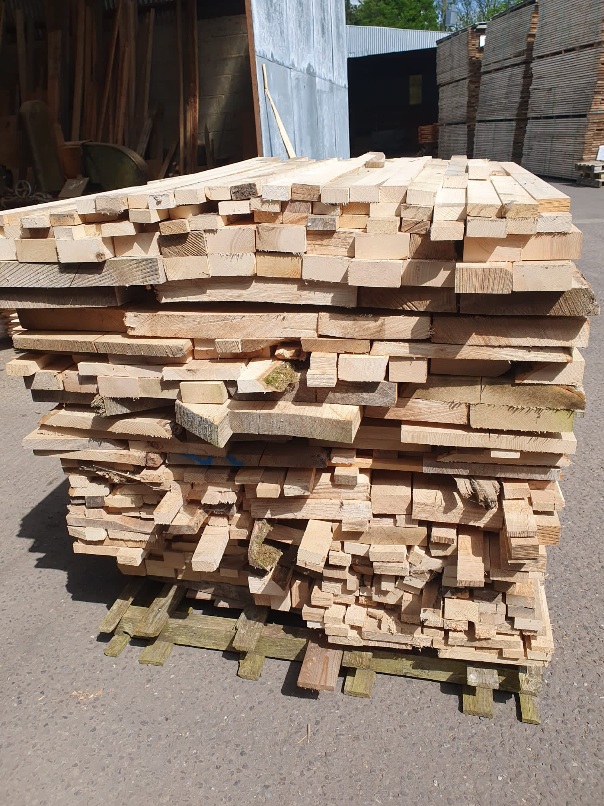
There is no substitute for good quality timber. Hardwoods, of course, and preferrably the Europoean native hardwoods; Ash, Beech, Oak, Sycamore, even Walnut. In the winter, the sap which was in the roots, stem and branches during the growing season is converted to starch so winter is probably the best time to fell a tree.
In my experience, the winter storms provide useable timber for chair-making but it should be left for a couple of years to dry slowly or preferreably, cut into boards and kiln-dried. It is always a good idea to paint the ends of boards during the drying process to reduce the likelihood of shrinkage cracks (shakes) developing as moisture evaporates from the end-grain.
Hardwoods in the British Isles have often grown in a “parkland” setting as individual trees so they tend to grow outwards in an uncontrolled way. This means plenty of knots and curved pieces which may be suitable for chairs. The alternative is imported hardwoods, grown closely spaced in plantations to yield long straight grained board.
The nature of the wood, whether straight grained or bent and knotty will dictate how the blanks for chair-making can be chosen. The choices are;-
1. Machined or sawn timber where the grain tends to run across the cut edges. Pieces cut in this way are suitable for turning on a lathe
2. Cleaved (riven) where the billets of timber are split along the grain; such pieces are suitable for steam bending and also for shaping by draw-knife and spoke shave.
What about Greenwood chairs?
A few decades ago, a fad developed for chairs made from sticks gleaned from hedgerows. Technically possible to some degree but maybe the quality or lack ofm in the wood, will come to light with use. My preference would always be for chairs made from quality hardwoods with some degree of precision, to last for generations.
Design
I am not an artist but I know that a good chair design, like any like any well designed furniture, will have a timeless quality. Likewise an ugly chair will always be ugly.
Consequently, I find it safer to look carefully at the designs of others, designs that have evolved over generations even, and then I arrive at a consensus / compromise design.
Over the years of making Irish sugan chairs, I often took in older chairs for repair so I gradually adapted my standard design to reflect the best in terms of size, shape, and general appearance.
The term, Design presupposes a function and compromise, over the years, functional requirements have changed. Traditionally, not all chairs were made for sitting at a table but the use of older styles of country chairs near the fireplace has largely been replaced by lower modern upholstered seating in centrally heated rooms.
There are a couple of basic design rules for chairs;-
Seat height 17″ – 18″ for chairs at a table.
Width across the front, confined, i.e. the front leg extends vertically to support the arm, 18″ – 21″.
The sitter’s shoulders should be over the bottom of the back legs
Top of the back, about 22 – 24″ above the seat. Lower for dining chairs
For solid seat boards, 1½” thickness before cutting the saddle.
For country chairs based on regional designs from the Britrish Isles generally, I rely on The English Regional Chair by Bernard Cotton. A very comprehensive survey of regional designs although not thorough for Irish chairs. The chairs, described fall ionto two broad categories;-

Solid seat-board chairs,
Often associated with geographical areas where large trees were readily available. Elm (now mostly extinct) in particular was a favourite. It used to be said that Elm was only good for farm gates and chairs seat-boards, it does’t even burn well.
The first job in making one of these is to saddle the seat board. I do this using a double-iron saddle plane which is just an old fashioned wooden smoothing plane with the sole and the iron rounded. When the blade is sharp it makers a particular noise in use, a sort of hissing noise. A Cabinet scraper and sandpaper to finish.
Then, the legs are turned. The back legs are usually 1/2″ longer becaue they rake back further.
With the legs fitted loosely into the seat board, the stetchers are measured for turning.
The seat board can then be “legged up” with the toiops of the legs wedgfed into holes in the seat board. The hole size foir most chaiurs bof this type is 7/8″ (22mm). In other words, not too big, not too small.
The back etc is arranged after carefully setting out the recline. The recline and back legs are arranged so that the sitter’s shouylders are directly over the bottom of the back legs (Hence the reason for the more pronounced rake of the back legs).
It’s the front baluster that supports the front of the arm that gives the frame rigidity.
Frame chairs,

Frame chairs like Irish sugan chairs tend to be made in geographical provinces where big trees were not available for seat-boards. To mform the seat, they rely on a variety of, usually naturally occuring fibres or cord to weave a seat. Rush is widely used for chairs across Europe and in Ireland, more widely available materials such as Seagrass have now largely replaced locally made sugan twisted from straw, hay or heather.
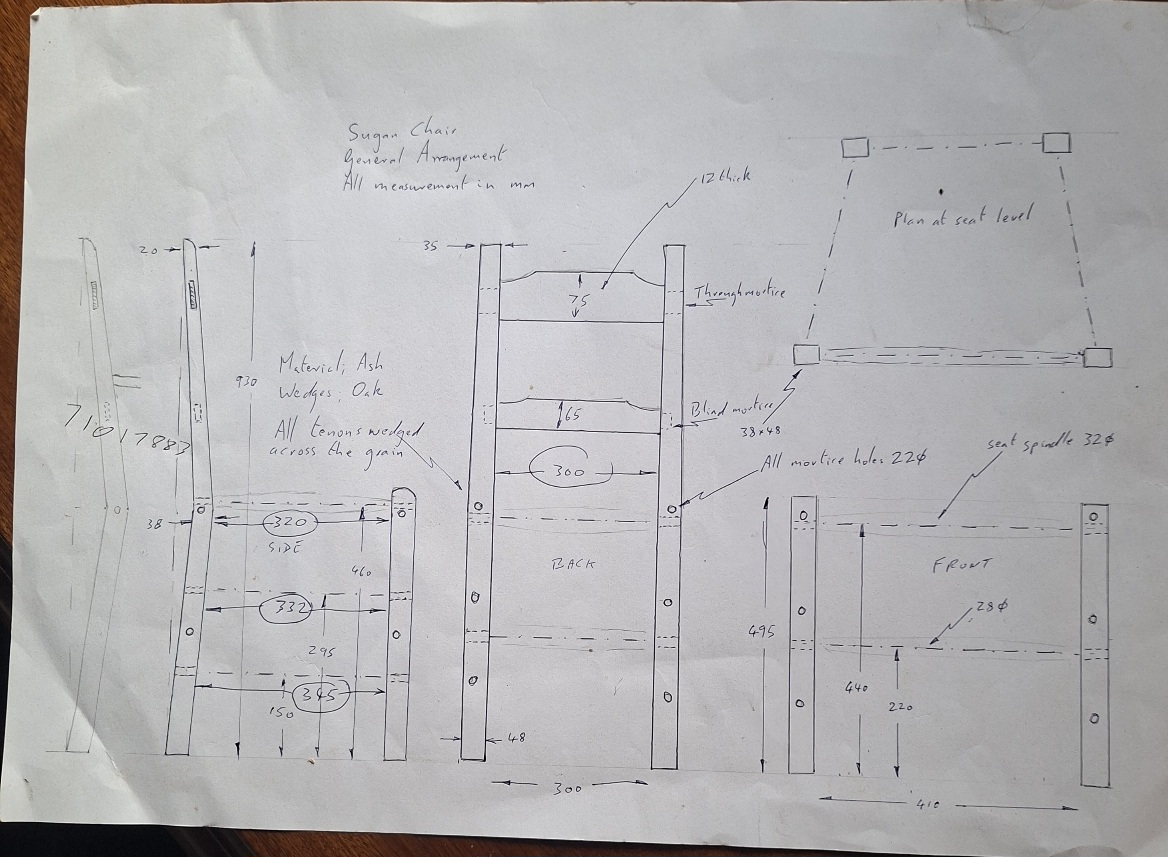
I have made hundreds of sugan chairs over the years but until a couple of years ago, I had never commitred the design to paper. Then with a request from a leaving ncertificate student for my design, I was forced to set out the dimensions which I have carried in my head.
The resulk was a drawing onto which I had initially marked dimensions in inches and had to redo in millimetres.
Actually in marking out blanks for drilling and cutting joints, I use both systems. For examnple, sugan chair legs areb 36″ or 37″ for the carver and the tenon jouints for the top back rail are 45mm x 8mm.
Bows or Bars?
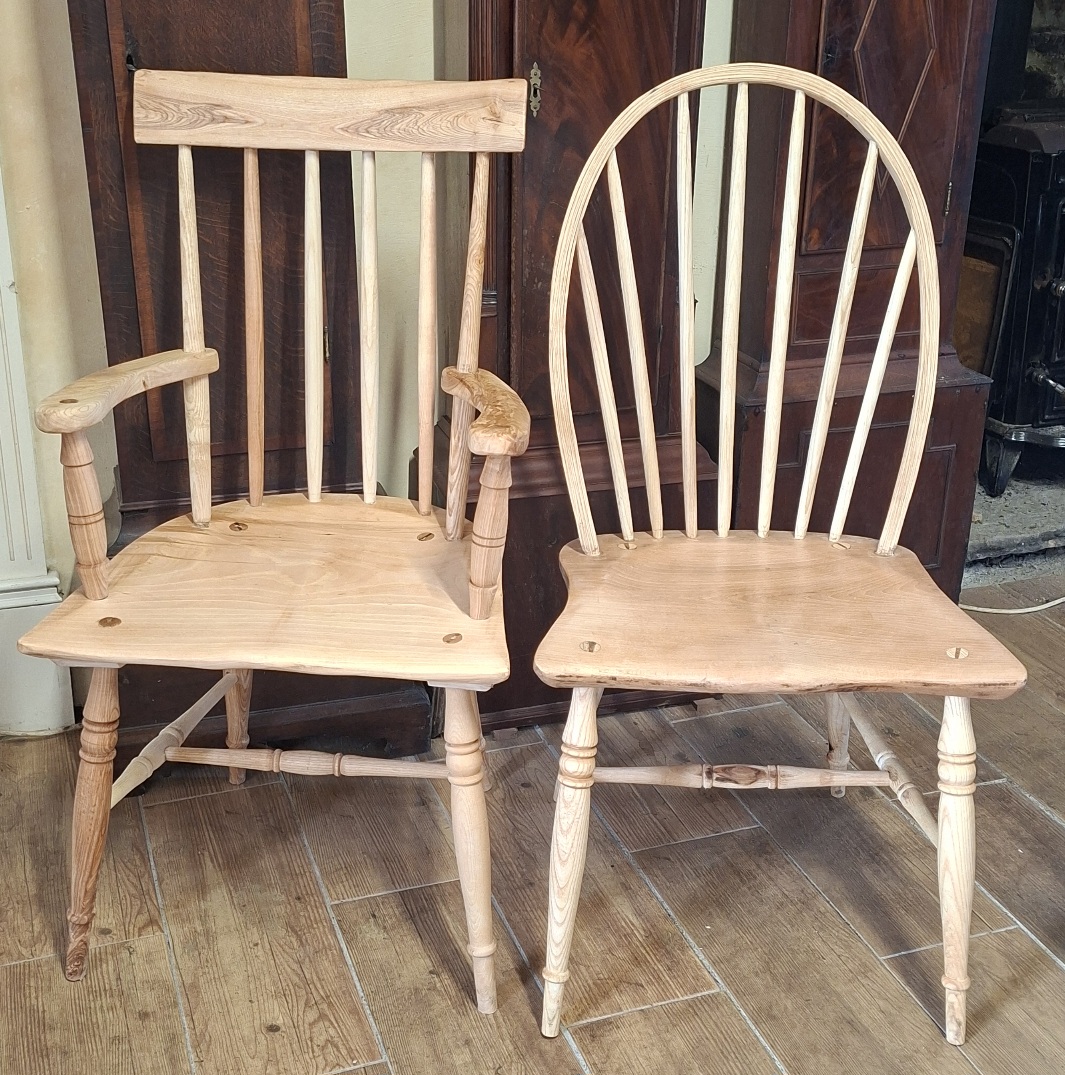 How to form the back of the chair? When I say Bows or Bars, this picture shows the choices. It only really applies to chairs with solid seat boards. The bow developed as regional styles polarised and is now strongly associated with the rather loose term, “Windsor”.
The steaming process is not unduly difficult to master but takes a bit of practice and a well made former or template.
Ash, Oak and Beech are all suitable for steam bending.
After immersion in the steam for long enough, the wood is flexible while still hot and wet but stiffens as it cools. It’s a matter of working fast.
As an alternative, laminating is simple, and more adaptable to machined timber where the grain line is not quite on the sawn edge: preparation is straightforward, four or five thin strips are cut and planed flat. They may be steamed and bent roughly into shape before gluing up the former. It is essential to get the glue bond tight by squeezing the laminations evenly.
Construction
The structural design of a successful chair is likely to have been arrived at through an evolution through various versions. As an example, the Irish sugan chair utilises three front-to-back spindles on each side. This makes a very strong rigid structure capable of withstanding years of hard use.
The introduction of stretchers that bind the legs together, reduces the required size of the legs and the size of the tenon fixing in the seat-board.
Lathe versus draw-knife versus plug cutter
Very much an individual preference. I make no judgements., But here are my thoughts;-
Lathe does it all and for the serious chair maker it is necessary equipment. For turning chair spindles ther is no need of a big complicated machine but a bed length of up to 30″ is useful, The ability to turn tenons to the exact diameter of the mortice holes is a matter of practice. But it is possible to use an open ended spanner as a gauge – much easier and more accuirate than a spring caliper. Naturally, a lathe lends itself to frivolous embellishment especially of chair legs. Lathework tends to yield chairs that are more sophisticated in their design.
Draw knife and spoke shave can make good serviceable chairs but of somewhat simpler designs. With practice it is posible to make spindles that look round. The drawknife approach requires a good shave-horse.
I have never used a plug cutter but I know there are chair-makers who do. again, the resulting chair might be somewhat limited in design because of the plug cutter only cuts the tenon on the end of the spindle.
All in all, each to his own.